Monthly Archives: March 2012

Little Helpers!

Standard

This post is going to be fun.

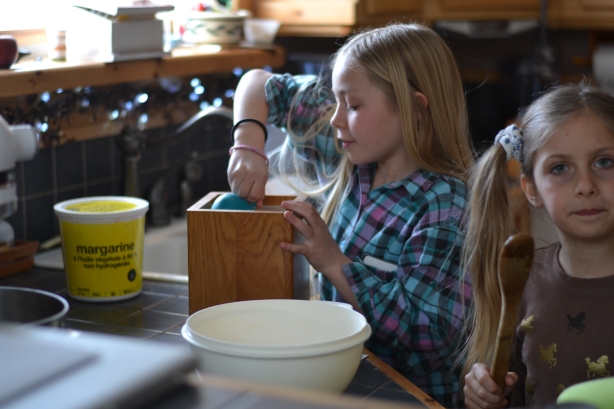
It will be fun, you see, because it was a fun baking experience – because I got to bake with three precious little girls.

Now you see, if you knew me in my kitchen (ask my hubby for verification!), you would never think that I would be able to handle this.  When I bake, I’m flying.  Well actually, when I live (which is well, always) I fly.  For some reason, it’s a go, goooo, GO for me all the time.  I can be seen literally running through the house at times if nobody is around, and perhaps at times when people are present.  SO – baking with others is normally a task for me.  I just don’t have time!  Well, I just don’t take the time…  But this day, I did.  And I’m so glad for it.  It was a great time with these three, and they even said that they had fun!  I was super happy about that.

This recipe is super easy.  It was one that my grandmother would set me to making, because it has few ingredients and it’s pretty hard to mess up (which I HAVE done, but they taste good no matter what anyhow).  For these, I always use a wooden spoon.  Also because of Nannie.  She liked using wooden spoons for quite a few things, and it stuck.  These squares are so easy to stir by hand that it’s really and truly a waste of time to get a mixer out and messed up.

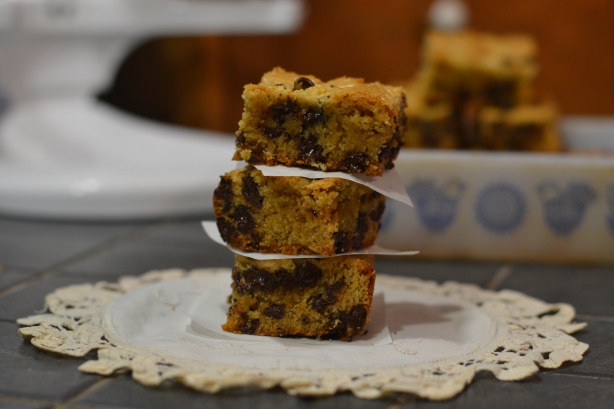
Chocolate Chip Squares

2 eggs

1 1/2 cups brown sugar

2/3 cup oil

1 tsp vanilla

1 1/2 tsp baking powder

1 tsp salt

1 1/2 cups flour

1 cup chocolate chips

Preheat oven to 350.

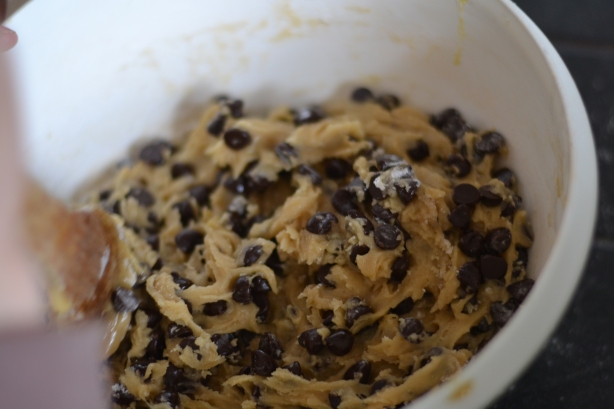
Stir together eggs, brown sugar, oil, and vanilla.  Add baking powder, salt and flour.

Stir until combined.

Add chocolate chips.

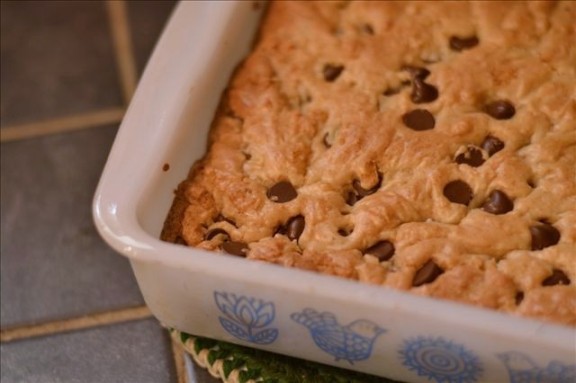
Pour into a greased 9×9 pan.  Bake for 25-30 minutes.

Lick dough off of spoon.

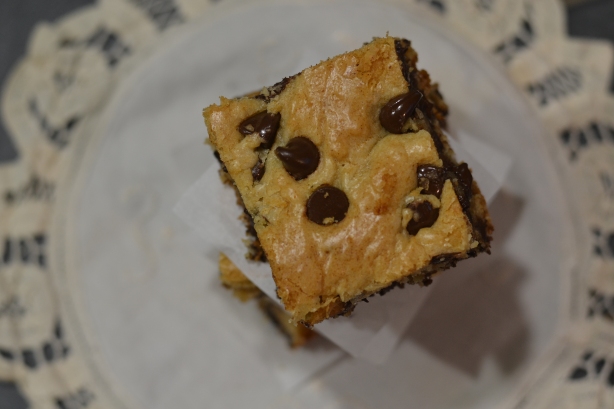
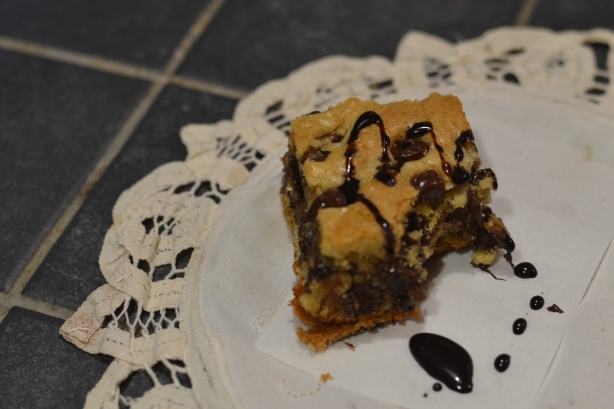
They’re really nice and gooey…. and chocolaty too.

Enjoy.

We also made homemade old-fashioned strawberry ice cream later on that day.  With a crank outside in the snow.  It’s really quite cool.  It takes awhile, but it’s most definitely worth it.  (But it’s not low-calorie by ANY mean!  Haha.)

It.

Is.

SO.

GOOD!

So, that was my really great day with these three great little ladies.  Hope you enjoy the squares.

Do you take your time to bake?   Or do you fly, like I seem to?

Berry Trifle – A Brothers Kitchen Expeditions

Standard

This post is going to be a smorgasbord of many things.  Just to warn you.

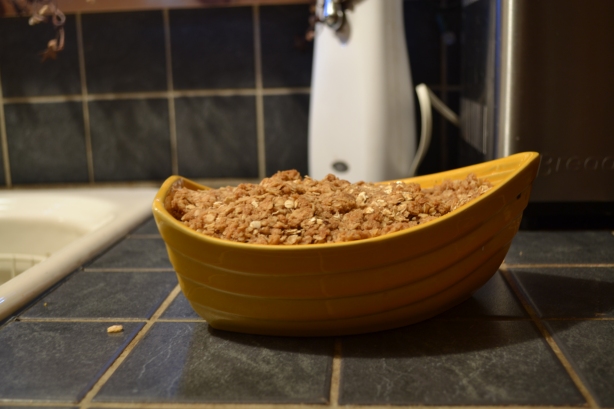
The last 24 hours have been pretty great.  It started out last night with an apple crisp.  We got home from our Bible study, and I needed something to eat.  Something half sweet and half healthy.  Apple crisp was my answer.  It was pretty darn good.  And cute too.

I’ll share this recipe with you some other time.

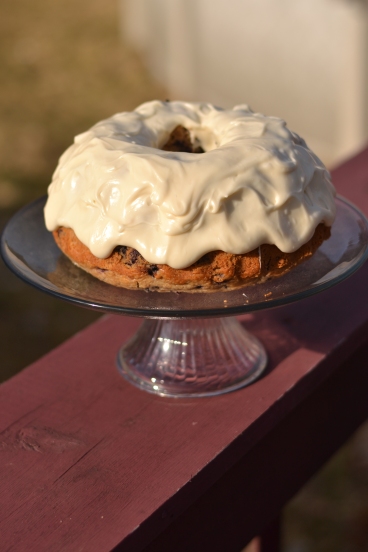
Then today, we (as in me and Mom) made a blueberry streusel coffee cake (minus the steusel, adding cream cheese icing).

She made the cake, I made the icing and iced it.  Combined effort.  It happens a lot around here.

I thought it looked really pretty, so I just couldn’t resist the urge to photograph it.  🙂

I forgot to mention that it was an absolutely beautiful day today.  The most excellent first day of spring.  23 degrees, sunshine, clear skies – wow.  I just wanted to find as many chores outside as possible, so that I could spend as much time soaking up the sunshine as I could.  And soaking in the good mood it puts me in.  I love what a good, pretty, day-in-the-sun kinda day can do.  It really lightens my spirit.  I am always so thankful for the beauty around me on sunshiny days.  So pretty…  that we went for a walk.  Or two.  The second walk took my little family downtown.  Such a pretty little town, with cute, obnoxious ducks, and friendly people.

We started with the ducks.  Cael loves to watch them.

Then we walked.  And visited the store.

It was really just a great all-around day.  I enjoyed it.  I hope tomorrow is just as great.  I pray that I would just really appreciate every day, more and more.  Each one is special.

To the recipe.

Caleb.  He’s my biggest little brother.  He has finally gotten taller than me, he’s blonde, and he’s REALLY good at making a mess. …. .  Especially in the kitchen.  He’s actually quite notorious for it.  He never follows a recipe (he tries, it just never happens), and always makes the biggest mess physically possible ever time…  And leaves the mess for someone else to clean up.  I must say though, he’s gotten better.  I’ll give him that much.

Just a disclaimer before I start…  Caleb has informed me that the next time he makes this, I am to take better pictures as this one ‘is not pretty’.  (He kind of tried to squish too much into a little bowl…)  So, I’ll give you better pictures sometime in the future.

Berry Trifle (Recipe by Caleb)

1 angel food cake (a cake mix works, but if you really want to make your own, that’s cool)

500 ml whipping cream

2 pkg cream cheese, softened

2 Tbsp sour cream

1 tsp vanilla

1 cup icing sugar

1 pkg vanilla pudding mix (optional)

Mixed berries (a mix of strawberries, blueberries, raspberries, etc – whatever you like, however much you like)

Prepare angel food cake.  Cut into cubes (about 1-inch cubes)

Blend cream cheese, sour cream, and vanilla together.  Add icing sugar and pudding mix.  [The pudding makes it more of a mousse, but it works fine without it if you don’t have it on hand or if you just don’t want to use it.]  Whip the whipping cream.  Fold into cream mixture.

Stir cake cubes into the cream mixture.  Put half of mixture into a trifle dish.  Top with berries.  Add the rest of the cake/cream mixture, and top with remaining berries.

This is delicious.  I can never help but take at least two servings.  Even when my belly feels like it might just explode.  I have GOT to eat more.  Mmmmm…  If you are on a diet, sorry, but you need to try this.  Please.  It’s just so good!

He enjoys it….  🙂

Do you have fun in the kitchen?  Do you make a mess? 

{I know I do!}

Must be Peanut Butter Time Again!

Standard

Guess what?  This past weekend was really great.  I got some things done.  Hung out a bit.  Y’know.

But it was also….  Well, let’s just say you are about to see how clumsy I am/how a LOT of my days turn out in the end.  I took most of the afternoon on Saturday to make some baby food.  Cael is an eater.  I mean, he eats.  And eats.  And eats….  Get the picture?  (But still no teeth!)  Anyway.  I had to make him some food.  And I was feeling really good about it.  A real domestic thing to do.  Get the picture?  La-ti-da, cooking and blending away.  I made him some date oatmeal, carrots, and corn.  They looked SO pretty – the colours are great.

Nice, right?  Not for long…

And then, I went to put them in the freezer.  If you’ve ever been in our home, you might understand.  For those of you who haven’t, let me explain.  The freezer is like a time bomb.  It ticks, and the trigger is someone who’s in a hurry (ME?!), trying to shove something in the zero space that remains.  It’s like trying to fit a 13th muffin in a 12-cup muffin tin.  Or maybe a 13th AND 14th.    Either way.  This is what happens.  Regularly.

Except normally, things aren’t still runny.  And don’t spill all over the floor.

Sigh.  All my work.  Oh well, I suppose.  Ever had these moments?

Back to the baking…  So, I got another request.  This time – Peanut butter chocolate chip cookies “that stay nice and moist”.  Now I must say, I LOVE the peanut butter/chocolate combo.  But.  When it comes to cookies, they need to be strictly peanut butter.  So I always use peanut butter chips.  Chocolate chips can be substituted easily though.  Definitely.  (Really though,  I guess I could do chocolate chip peanut butter cookies… 😉  )

Anyhow…  I love peanut butter cookies.  But the thing is – I hardly ever get to make them BECAUSE of silly allergy rules in the schools.  Cookies are such a great snack in lunches.  My brothers take cookies to school all the time (SOMEBODY’S gotta eat all those cookies we’re making!), but they can’t take peanut butter cookies.  So.  Solution is to bake them on weekends, or extended breaks.  This week is March break, problem solved.  (Not that I don’t eat a ton of them too, I’m addicted.)  Again, they don’t look perfect.  I don’t use a proportioned scoop (I have that gripe… remember?), but you totally could if you want (I know some people just can’t help it, I understand…).  🙂

Peanut Butter Cookies

1/2 cup margarine, softened

1/2 cup peanut butter

1/4 cup sugar

1/2 cup brown sugar

1 egg

1 1/4 cup flour

3/4 tsp baking soda

Pinch salt

1 bag peanut butter chips (or chocolate)

Preheat oven to 350F.  Mix together the margarine, peanut butter, and sugars.

Add egg and salt, mix.  Mix in flour, and baking soda.  Should look something like this:

Now’s the time to add the peanut butter (chocolate) chips!  I drop these cookies by the spoonful, but they can be rolled into balls too and pressed with a fork if you want.

Bake for about 10-12 minutes (they should be just brown around the edges).

These cookies stay awesomely chewy [and yummy] stored in an airtight container.

Hope you enjoy!  Bon appetit!

How was your weekend?

Velvet… {Cake}?

Standard

When I think of velvet, I think of really uncomfortable dresses.  I’m not sure why, something from my youth triggers it, but I just can’t remember what exactly.  Anyhow.  When I put that velvet picture in my head and add the words ‘red’ and ‘cake’…..  Well, it just doesn’t seem quite right.  Downright awful actually.  But, I was wrong.  There.  I’ll admit it [for once].  I.  Was.  Wrong.


A friend asked me the other day what was so big about ‘Red Velvet Cake’.  I responded that I wasn’t sure, but I didn’t think it was anything too crazy.  So, I proceeded to look them up (I had before, but hadn’t looked at it too hard…).  Anyway, it wasn’t anything too crazy, so I thought I’d give it a try.  I found a recipe on Bakerella, but I tweaked it a tad, and made it into cupcakes instead of just a regular cake.

Red Velvet Cupcakes  (adapted from Bakerella)

2 1/2 cups all-purpose flour

2 cups sugar

1 Tbsp cocoa, heaping

1 tsp salt

1 tsp baking soda

2 eggs

1 cup canola oil

1 cup milk

1 Tbsp vinegar

1 tsp vanilla

2 tsp red food colouring

Preheat oven to 350.  Pour milk and vinegar into a measuring cup, set aside for 10 minutes.  Line cupcake pans with liners.

Whisk eggs lightly.  Add remaining liquids and whisk until blended.  Stir in cocoa and sugar.  Add flour, salt, and baking soda.  Mix until smooth.  Pour into cupcake pans.  Bake for 20 minutes (or until tester inserted in middle comes out clean).

Makes 18 cupcakes.

Anyhow.  It was kind of a busy day making these.  I had two younger brothers to feed, and a baby who just loves attention.  But!  I prevailed, and they turned out pretty good I must say.

After I had delivered my cupcakes to my friend (who had mentioned them to me), I got home to less cupcakes than were there when I left.  Turns out they were too good to just look at.  An additional brother landed home while we were gone and just couldn’t help himself.
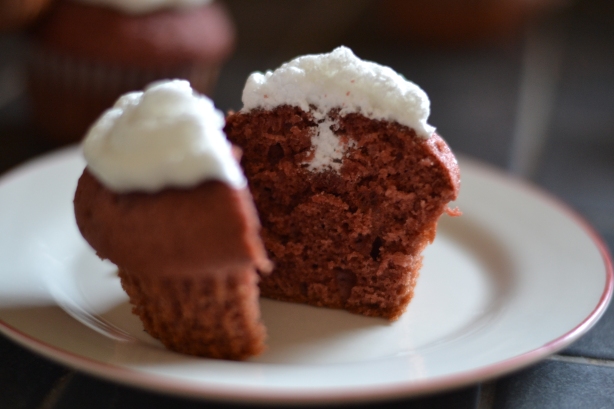
{I attempted to fill the cupcakes with the boiled icing… didn’t work too well (it’s just not the right consistency – too fluffy), but it kinda worked…}

A piece of interesting factual information for you about red velvet cakes – they are called red velvet because of their colour.  (Duh, right?)  The cake turns red because of a chemical reaction between the cocoa and the buttermilk (or vinegar).  It also turns red because of added RED food colouring.  Apparently, most cocoa used to be lighter than it is now, and it turned cakes more red, but cocoa is darker now, and while it still turns slightly brown-ish red, colouring is needed for the full effect.  You can still buy the lighter cocoa though.

{Just for extra prettiness, I put an espresso candy on top with a sprinkling of cocoa.}

I also did something different for icing.  Seven minute icing.  It’s a type of boiled icing.  And it’s pretty good.  But I’d never made one like this before.  One reason I really like it, was because you don’t need to use a double boiler (which you normally do).  But, it’s not quite the same.  (Not as good as my mother-in-laws, that’s for sure!)

Seven Minute Icing (adapted from bakedbree)

1 1/2 cups sugar

2/3 cup water

Pinch cream of tartar

4 egg whites

Pinch salt

1 tsp vanilla

In a saucepan, combine sugar, water and cream of tartar.  DO NOT stir.  At all.  Okay?  Bring to a boil, and boil for about 10 minutes.  While you’re waiting for that, put the egg whites and salt in a mixer, and whisk until whites are peaking.  Pour sugar water over egg whites and beat the frosting for 7 minutes (hence the name of the icing…).  Add vanilla extract.  The icing will be really nice and fluffy.  And it will taste sooo good.

I had a LOT of icing left over from the cupcakes…  And my hubby just so happens to LOVE (that’s right folks.. another baked good he’ll actually eat) chocolate cake with boiled icing.  So.  After my cupcakes were made, iced, and delivered.  .  .  .  .  .  (it took awhile)  .  .  .  .  …….  I set out to making a chocolate cake.  (Needless to say, I didn’t get a whole lot else accomplished this day!)  I made this chocolate cake recipe and slopped ALL the rest of the icing on it.  It was pretty delicious.

Notice I [attempted] to pipe the icing onto the cupcakes…  it didn’t work so amazingly well.  Boiled icing isn’t quite the right consistency… but it worked.  Just thought I’d give a warning there.  You WILL make a mess if you attempt to do that.  I would suggest using a flat spatula, and smoothing it on instead (as I did on my cake).

Anyhow.  There was my greatest adventure for the week.  (Notice I said week, not weekend.  I had quite the spree on the weekend, but we’ll talk about that later, when it’s not so fresh on my mind.)

Ever tried a red velvet cake before?  
Dad’s Cookies

Standard

My dad eats almost anything.  Actually, he WILL eat anything.  But there are a few things he doesn’t like.  One of those things is celery – weird eh?  But there are many things that he does like.  And one of those things is Molasses Cookies.  When I was little, he was a stay-at-home dad for a few years.  And this was one of his specialties.  Surprised?  My dad can cook, AND bake.  He’s really good at it, actually.  Anyways, he used to make these for me all the time.  He even wrote by the recipe, “Kayleigh likes these”, to help him remember which recipe it was he used.  Now, he runs his own business, and doesn’t have near as much time on his hands to bake.  So, I make them.  For him.  I love baking when people love to eat my food.  🙂

Anyhow.  These cookies are the perfect cookie.  They are nice and moist and chewy, and stay that way for about a week (not that they last that long normally…).  I used to hate to make these (when I was 12 or so), because they are rolled cookies, and I though they took too long.  But now, I really don’t mind making them.  They are so good, and really don’t take that long [at all].  We found the recipe in an old hospital cookbook, but we made some changes to it (and they’re wayyy better now).

Dad’s Molasses Cookies

3/4 cup shortening

1 cup brown sugar

1 egg

1/2 cup molasses

2 1/4 cup flour

2 tsp baking soda

2 tsp cinnamon

2 tsp ginger

1 tsp cloves

Pinch salt

So – First, preheat oven to 350 F.  Then mix together the shortening, molasses, and brown sugar.

And now, add that egg and beat it in.  Then, add your flour, baking soda, and spices.  Mix well.

Then comes the rolling part that I used to hate so bad (but really, truly thoroughly enjoy now).  Roll into 1 1/2 inch balls (or smaller if you like smaller cookies).  After you roll them into balls, roll them into white sugar so that they’re evenly coated.

So yummy.

Next, press with a fork, and throw into the oven for about 10 minutes (truthfully, I put mine in for 11, and they are perfect, but it depends on the oven).

You will know they are done when they look dry.  Not dry but not wet… get what I mean?  This is about what they look like:

Yummy.

Cael can pull himself up to standing now – all by himself.  I turned around the other day, and he was using the laundry basket as a stabilizer, just standing there.  He scared me half to death.  I can’t believe he’s doing that already.  He just started crawling this past week!  Ohmydear.  How fast they do grow… !  I really have to keep a close eye on him now.

Keep checking, because soon I’ll be posting a red velvet adventure, and some peanut butter love too.  🙂  Oh!  And linzer cookies too!  My mother-in-law bought me some heart cutters to make some (as I’ve never tried), and I really want to try them out!

Oh.  And I have joined Facebook too.  Check me out at www.facebook.com/foreverfaithandfood/  !!

(Sorry, I couldn’t help myself.  They just looked SO good.  And it was.)

Are there any foods that always remind you of your childhood?  Fond memories?  

Rolling in the Dough

Standard

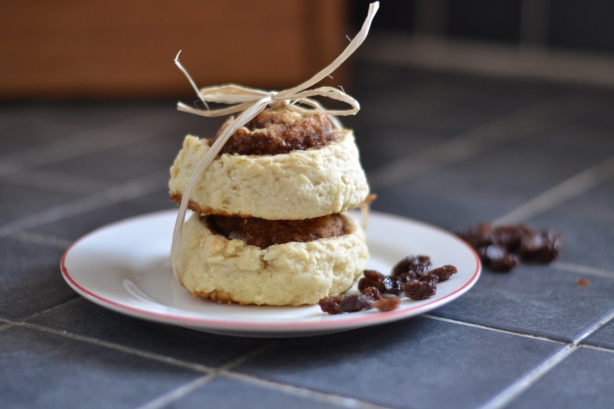
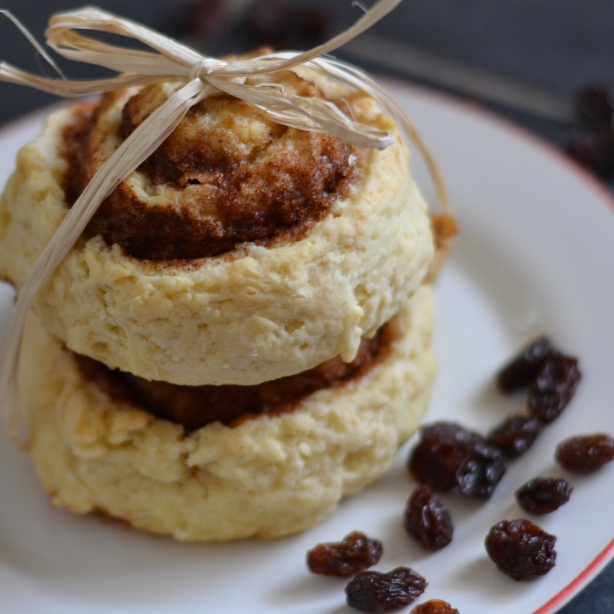
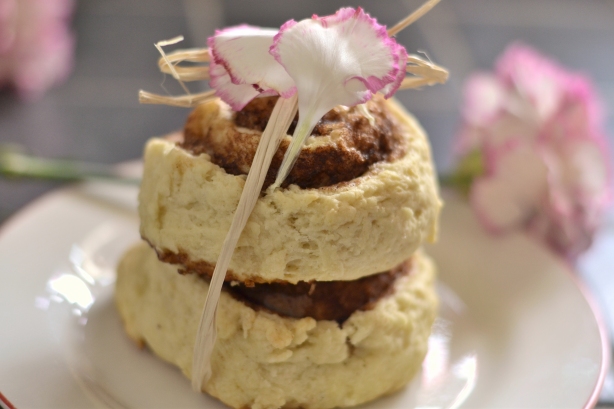
Rolling in cinnamon roll dough that is!  (The biscuit type.)

As much as I wish that it was the money-type-dough….  It’s not.  But this is the next best kind!  But!  Before we get to that…  Baking.  Who likes to do this?  Is there anyone else out there that just loves to bake?  Because I could bake sun-up to sun down if I had the people to bake for and the time to do so…  Just wanted to let you know about that.

Guess what!  Our little boy crawled for the first time yesterday!  It was a very exciting, but bittersweet moment.  Exciting because he’s crawling and growing up.  Bittersweet because he’s growing up SO fast.  I cannot believe how big he’s getting and how much he’s doing.  Have I mentioned that he claps and tries to sing along in church?  (Or that he’s a complete goof ball?)

Don’t you love the hairdo and expression?  🙂  Priceless.

Speaking of church, our church played the movie Courageous over the weekend.  It was a great movie.  I highly recommend it.  It is focusing on what God says of fathers in the Bible.  But it has great advice in it for mothers as well.  We are to bring up our children in a godly way, honouring Him through it all.  It’s a really hard task.  But completely achievable with the help of prayer and the Holy Spirit.  Joshua 25:15 – “As for me and my house, we will serve the Lord.”

On to these FAMOUS Cinnamon Rolls.  They are sooo good.  I’ve mentioned my grandmother in a few of my previous posts.  She was a real influence on my baking.  I have been baking as long as I’ve been standing (and probably before).  This recipe is one that she would let me help with right from the get-go.  It was our recipe (well, it’s hers, but it was our special time spent together eating the dough making them).  😉  We are a family that tends not to measure…  I know, I know…  Tsk tsk.  BUT – things just taste better when they aren’t perfect.  (Remember my gripe about perfectly round cookies?)  I love being able to judge how much of something I need to dump in without a measuring cup.  Don’t get me wrong, I still do measure a lot of things (especially for certain recipes when it is critical that certain amounts are exact), but I dump a lot of ingredients in the bowl willy-nillly.  Anyway, my ramble does have a point – we tend not to measure… i.e. – this recipe does not really exist.  I had to make my grandmother sit down and really think about what she puts in her cinnamon rolls, so I could write it down to have and to share.  So, here goes!

Nanny’s Cinnamon Rolls

1/2 cup sugar

1/2 cup margarine, softened

2 eggs

1/2 cup milk

1 tsp vanilla

Salt

2 1/2 – 3 cups flour

3 1/2 tsp baking powder

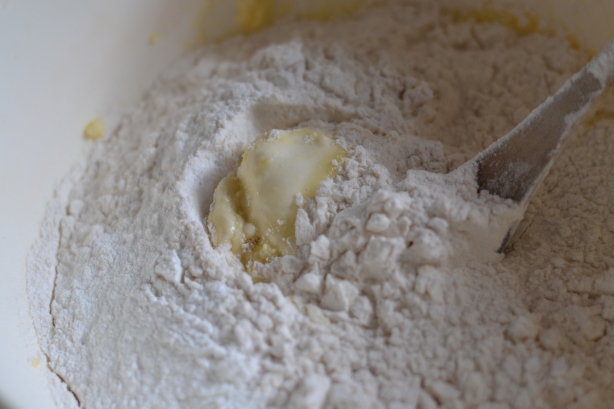
Stir together the margarine, eggs, milk, vanilla, and salt.  Once it is combined, add two cups of flour and the baking powder, stir. Add 1/2 cup flour, stir.  If the dough is too sticky to handle, add the rest of the flour.  If it seems okay, then don’t add any more.  Simple as that.

Now, this is one of those recipes that you just have to use a wooden spoon.  Well, I do at least.  My grandmother didn’t introduce me to a mixer until I was 10 or 11, so we used a wooden spoon to make most of the baked goods we made together.  And there are still a few recipes that I just have to use a wooden spoon to mix.  It doesn’t mix as thoroughly as our KitchenAid, but it gives these rolls a ‘homemade’ feel, and I get to feel quite nostalgic.

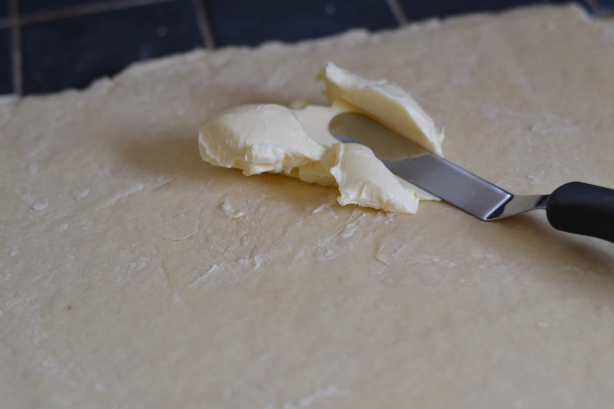
After you’re done mixing, slap it on a floured surface and roll into a rectangle (the dough should be about 1/2 inch thick, or whatever you prefer really).  Next – spread with margarine.  The more, the better.  Yum.

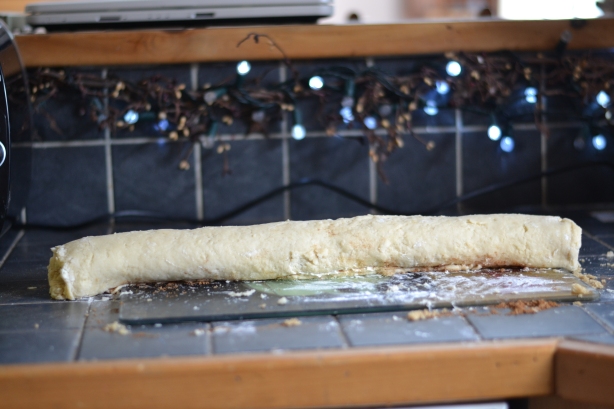
Then, sprinkle (very generously) brown sugar over the butter.  Don’t forget to spread it out and lick your fingers (and to wash your hands afterwards…).  Then sprinkle cinnamon over the sugar, to your own taste.  If you like raisins, you can throw some of those on top – SO good.  After all that, you can roll these puppies up.  From the long end.  They should look somewhat like this when they’re rolled:

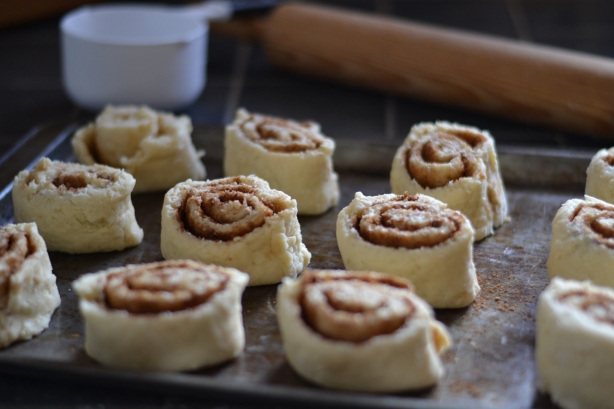
I cut them into 12 rolls normally, but you can make them thicker/thinner if you want to.  Then put them on a greased cookie sheet, or in a greased 8X8 pan (depending on how you want them to turn out).

Oh!  Remember to cut the ends off, just a little slice off of either end to make them look better (and so that you have some extra dough to sample).  Nanny would save the ends for us every time she made them.  (And if I got through the door first, I’d quickly scarf down both ends so I didn’t have to share with my brother… Very sisterly of me eh?)

Bake at 350 for about 20 minutes, or until dough is set and slightly brown.

They looked so good.  I just couldn’t stop taking pictures of them.  Last one, I promise.  Best one too.

Wow.  One of my most favourite foods (I think I have a lot of those….)

And just a side note – Congratulations to my best friend Ivy, who just got engaged this weekend!

What is your favourite baked good?  Have any family traditions around baking?